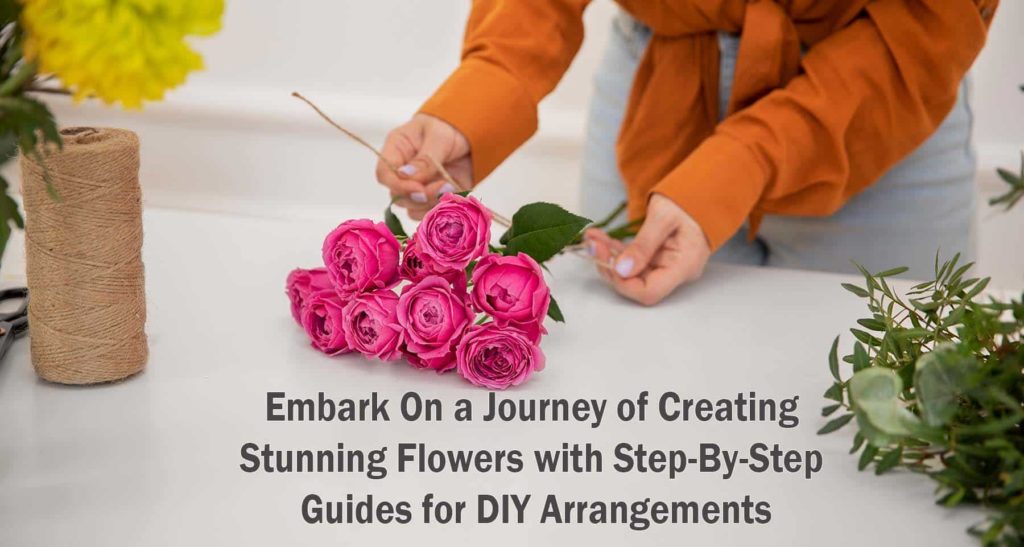
Embark On a Journey of Creating Stunning Flowers with Step-By-Step
Discover the Art of Floral Arrangements Steps!
Flowers have always held a special place in our hearts. They bring joy, beauty, and a touch of nature’s elegance into our lives. Whether it’s a special occasion or a simple desire to brighten up your home, creating stunning flower arrangements can be a rewarding and therapeutic experience. With a bit of creativity and the proper guidance, you can transform a bunch of blooms into a work of art. In this blog post, we will take you on a journey of creating stunning flowers with step-by-step guides for DIY arrangements.
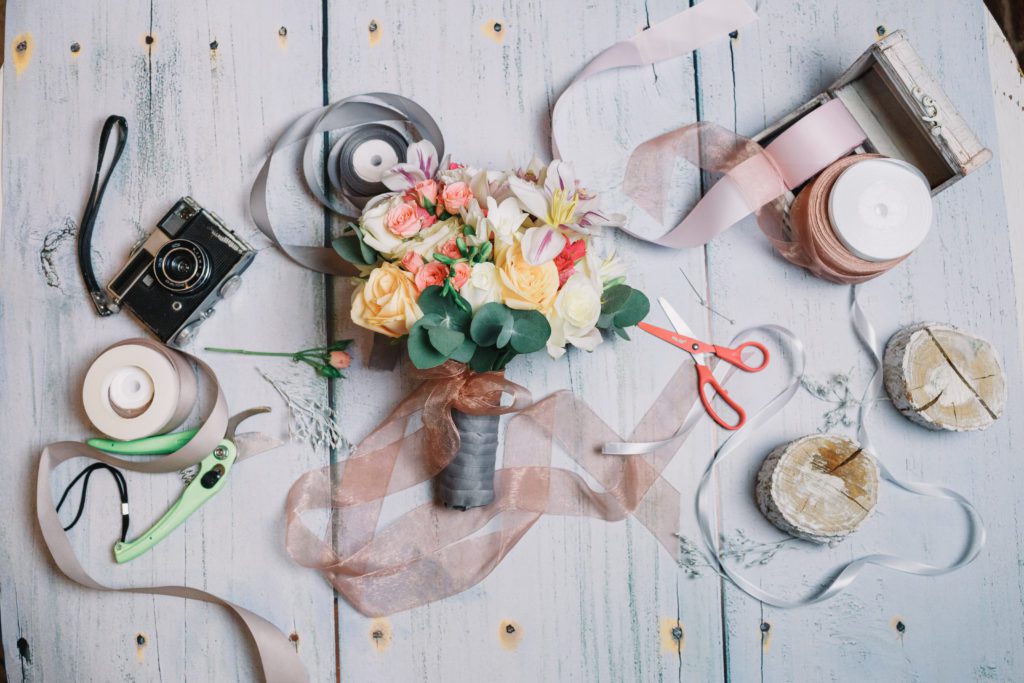
Step 1: Gather Your Supplies
Before you begin your floral adventure:
1.The first process Floral Arrangements Step is Gather all the necessary supplies. You will need a pair of sharp floral shears, a clean vase or container, floral foam or floral tape, flower food, and a selection of fresh flowers.
2. Choose flowers in various shapes, sizes, and colors to add depth and visual interest to your arrangements.
3. Consider using roses, lilies, tulips, and daisies, or opt for unique blooms like orchids or proteas for an exotic touch.
4. Choose flowers with different blooming stages to extend the lifespan of your arrangement.
Step 2: Prepare Your Flowers
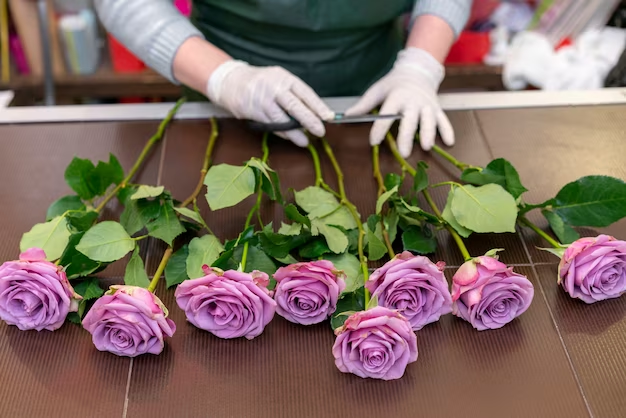
Once you have your flowers, it’s time to prepare them for arranging. Fill a clean sink or bucket with lukewarm water and gently remove any foliage below the waterline in your vase. It prevents the growth of bacteria, ensuring your flowers stay fresh for longer. Cut the stems at an angle using your floral shears, as this creates a larger surface area for water absorption. Remember to remove any thorns or leaves that may be in the way.
Place your flowers in water immediately after cutting to prevent air bubbles from forming in the stem.
Step 3: Choose Your Style
And now, we arrive at the exciting stage: selecting the style for your arrangement. Do you prefer a compact round bouquet or a loose and organic design? Are you going for a monochromatic look or a vibrant mix of colors? Take a moment to envision the overall look and feel you want to achieve. It will help guide your flower selection and Floral Arrangement technique. Consider the occasion and the room where the Floral Arrangement will be displayed when deciding on the style.
Step 4: Build a Solid Foundation
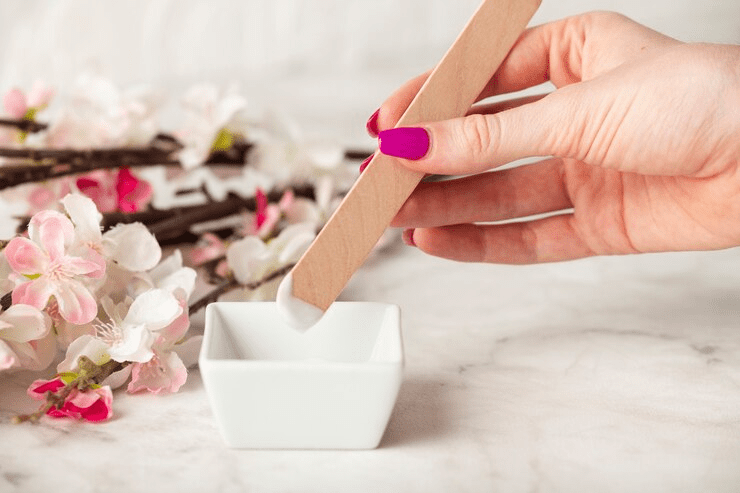
Create a solid foundation using floral foam or tape to ensure your flowers stay in place and receive proper hydration. Soak the foam in water until it’s completely saturated, and then place it in your chosen container. If you’re using floral tape, crisscross it over the mouth of the vase to form a grid pattern. This grid will help support the stems and maintain the desired arrangement shape. Use clear floral tape for a more invisible support structure.
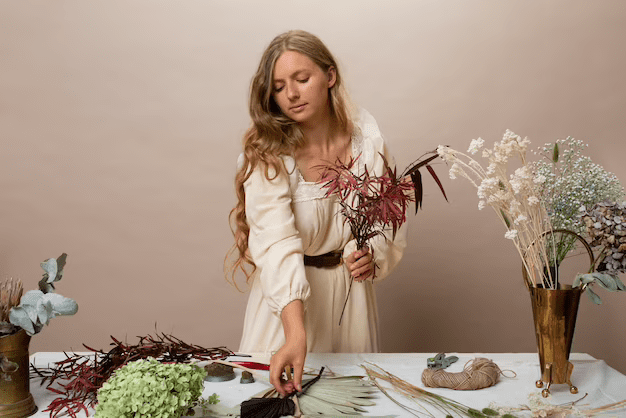
Step 5: Start Arranging
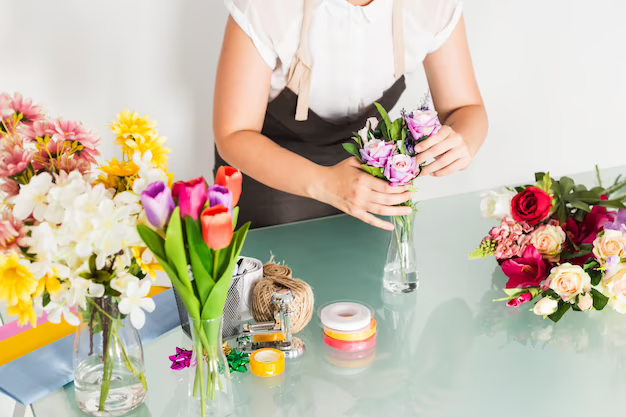
Begin by adding foliage or greenery to create a base for your Floral Arrangement. It can be anything from ferns and eucalyptus to ivy or bear grass. Place them evenly around the perimeter of the container, ensuring they extend beyond the rim for a natural look. Next, add your focal flowers, usually the most prominent and eye-catching blooms. Position them at varying heights to add dimension to your arrangement-odd group numbers of flowers together for a more aesthetically pleasing composition.
Step 6: Fill in the Gaps
Once your focal flowers are in place, it’s time to fill in the gaps with secondary flowers. These blooms should complement the focal flowers and add texture and color. Consider using smaller blossoms like baby’s breath, statice, or wax flowers to add delicate accents. Remember to step back occasionally to assess the overall balance and adjust as needed. Use flowers with different petal shapes and sizes for a visually attractive Floral Arrangements.
Step 7: The Finishing Touches

Add flower food to the water in your vase to ensure your flowers last as long as possible. It will provide essential nutrients and help fight bacteria growth. Trim any excess foliage or flowers that may be below the waterline. Place your arrangement in an excellent spot away from direct sunlight and drafts to prolong its freshness. Remember to change the water every few days and remove any wilted flowers to maintain the beauty of your creation. Mist your flowers with water using a spray bottle daily to keep them hydrated.
Savor the Fruits of Your Hard Work!
Congratulations! You have successfully embarked on a journey of creating stunning Floral Arrangements. The art of floral arrangement is a continuous learning experience, so don’t be afraid to experiment and let your creativity bloom. Whether crafting Floral Arrangement for a special occasion or simply brightening up your home, the joy and satisfaction of arranging your flowers are unmatched. Take photos of your creations to document your progress and inspire future arrangements.
Black Tulip Flowers – Qatar: Your Guide to Floral Excellence!
At Black Tulip Flowers – Qatar, we believe that everyone has the potential to become a skilled floral designer. Our team of experts is passionate about sharing their knowledge and helping you hone your flower-arranging skills. We dedicate ourselves to ensuring your floral creations are nothing short of breathtaking, from selecting the freshest blooms to providing step-by-step guidance.
So why wait? Embark on your floral journey today and discover the art of creating stunning Floral Arrangement with Black Tulip Flowers. Let your imagination blossom and transform ordinary flowers into extraordinary arrangements that bring joy and beauty to your life and those around you.
Follow Our Social Media page for regular updates on flower arrangements and offers.